
As I mentioned in my previous post, Noah loves to hunt out the silky tags on all of his blankets and toys. So with a napping baby and a little time to myself I decided to test my DIY skills on a homemade “Taggie” blanket. I’ve seen them in Target before, so had an idea of what I was going for. This project only took me about 30 minutes, even with stopping to take a few pics along the way.
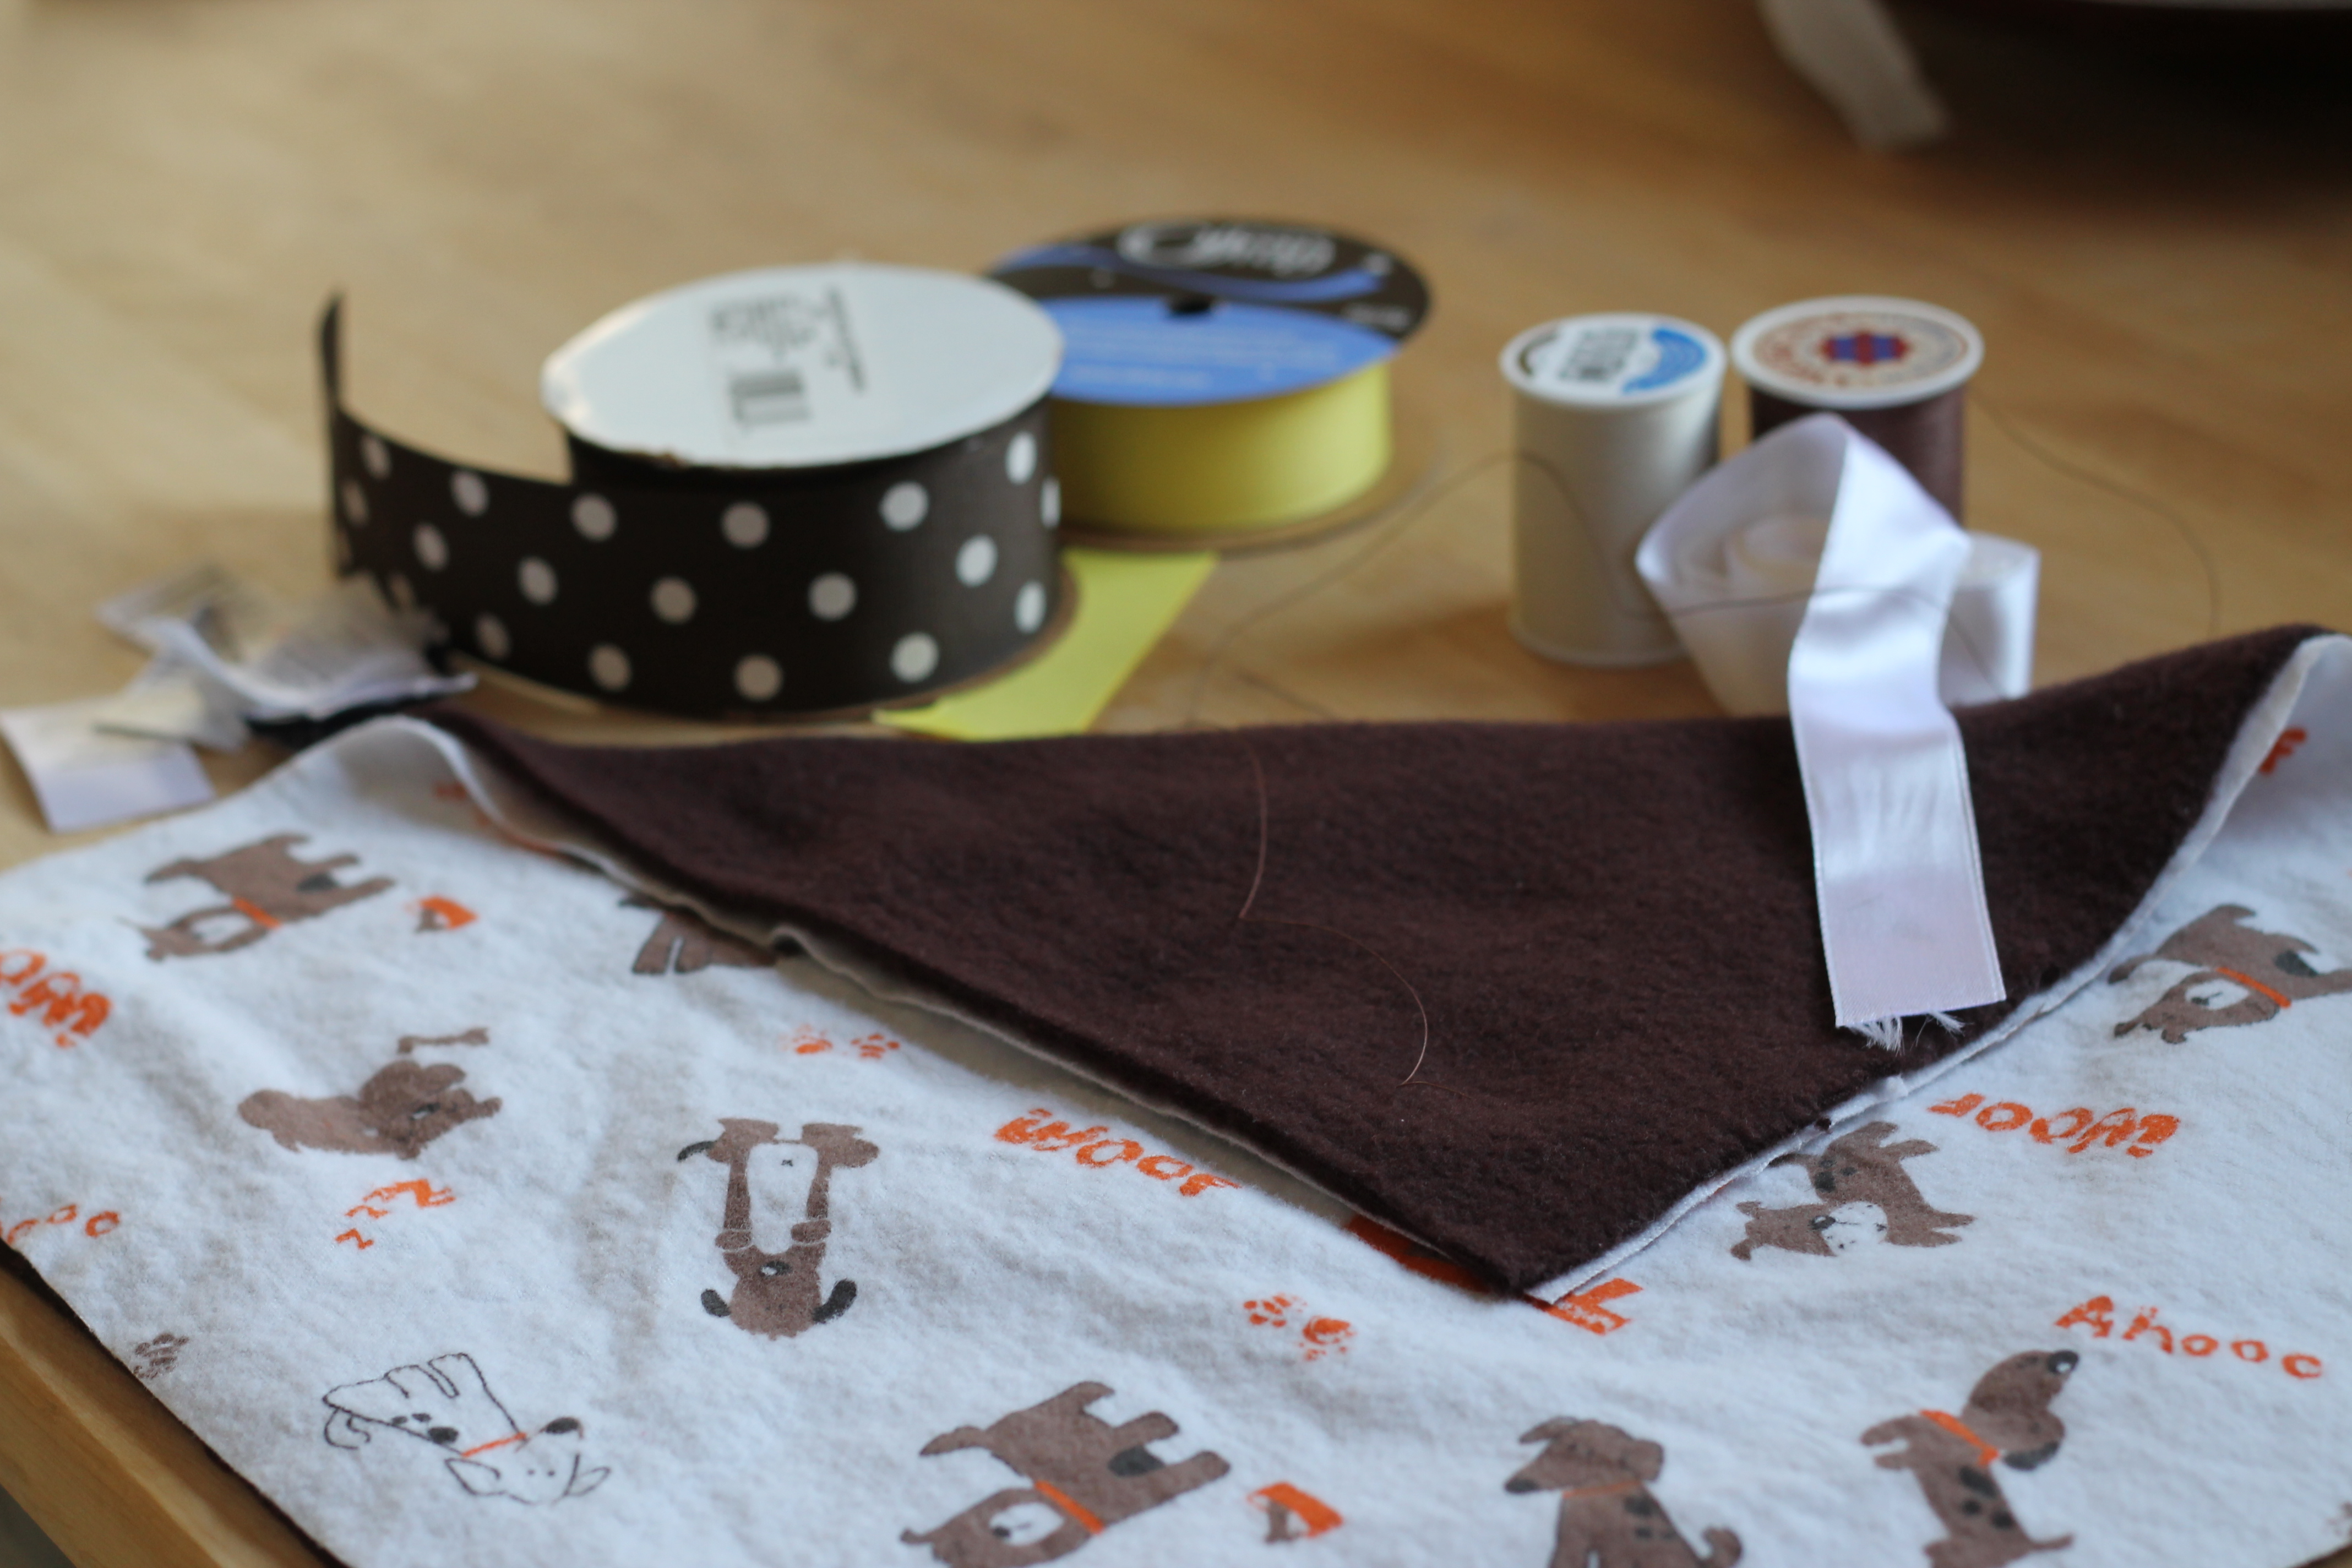
Supplies:
– 2 Coordinating squares of fabric, mine were about 14 inches
– Scissors, sewing machine, thread
– Ribbon (I used a few real silk tags from clothing or toys. I was afraid Noah would reject my masterpiece if he sensed the tags were fake.) 🙂
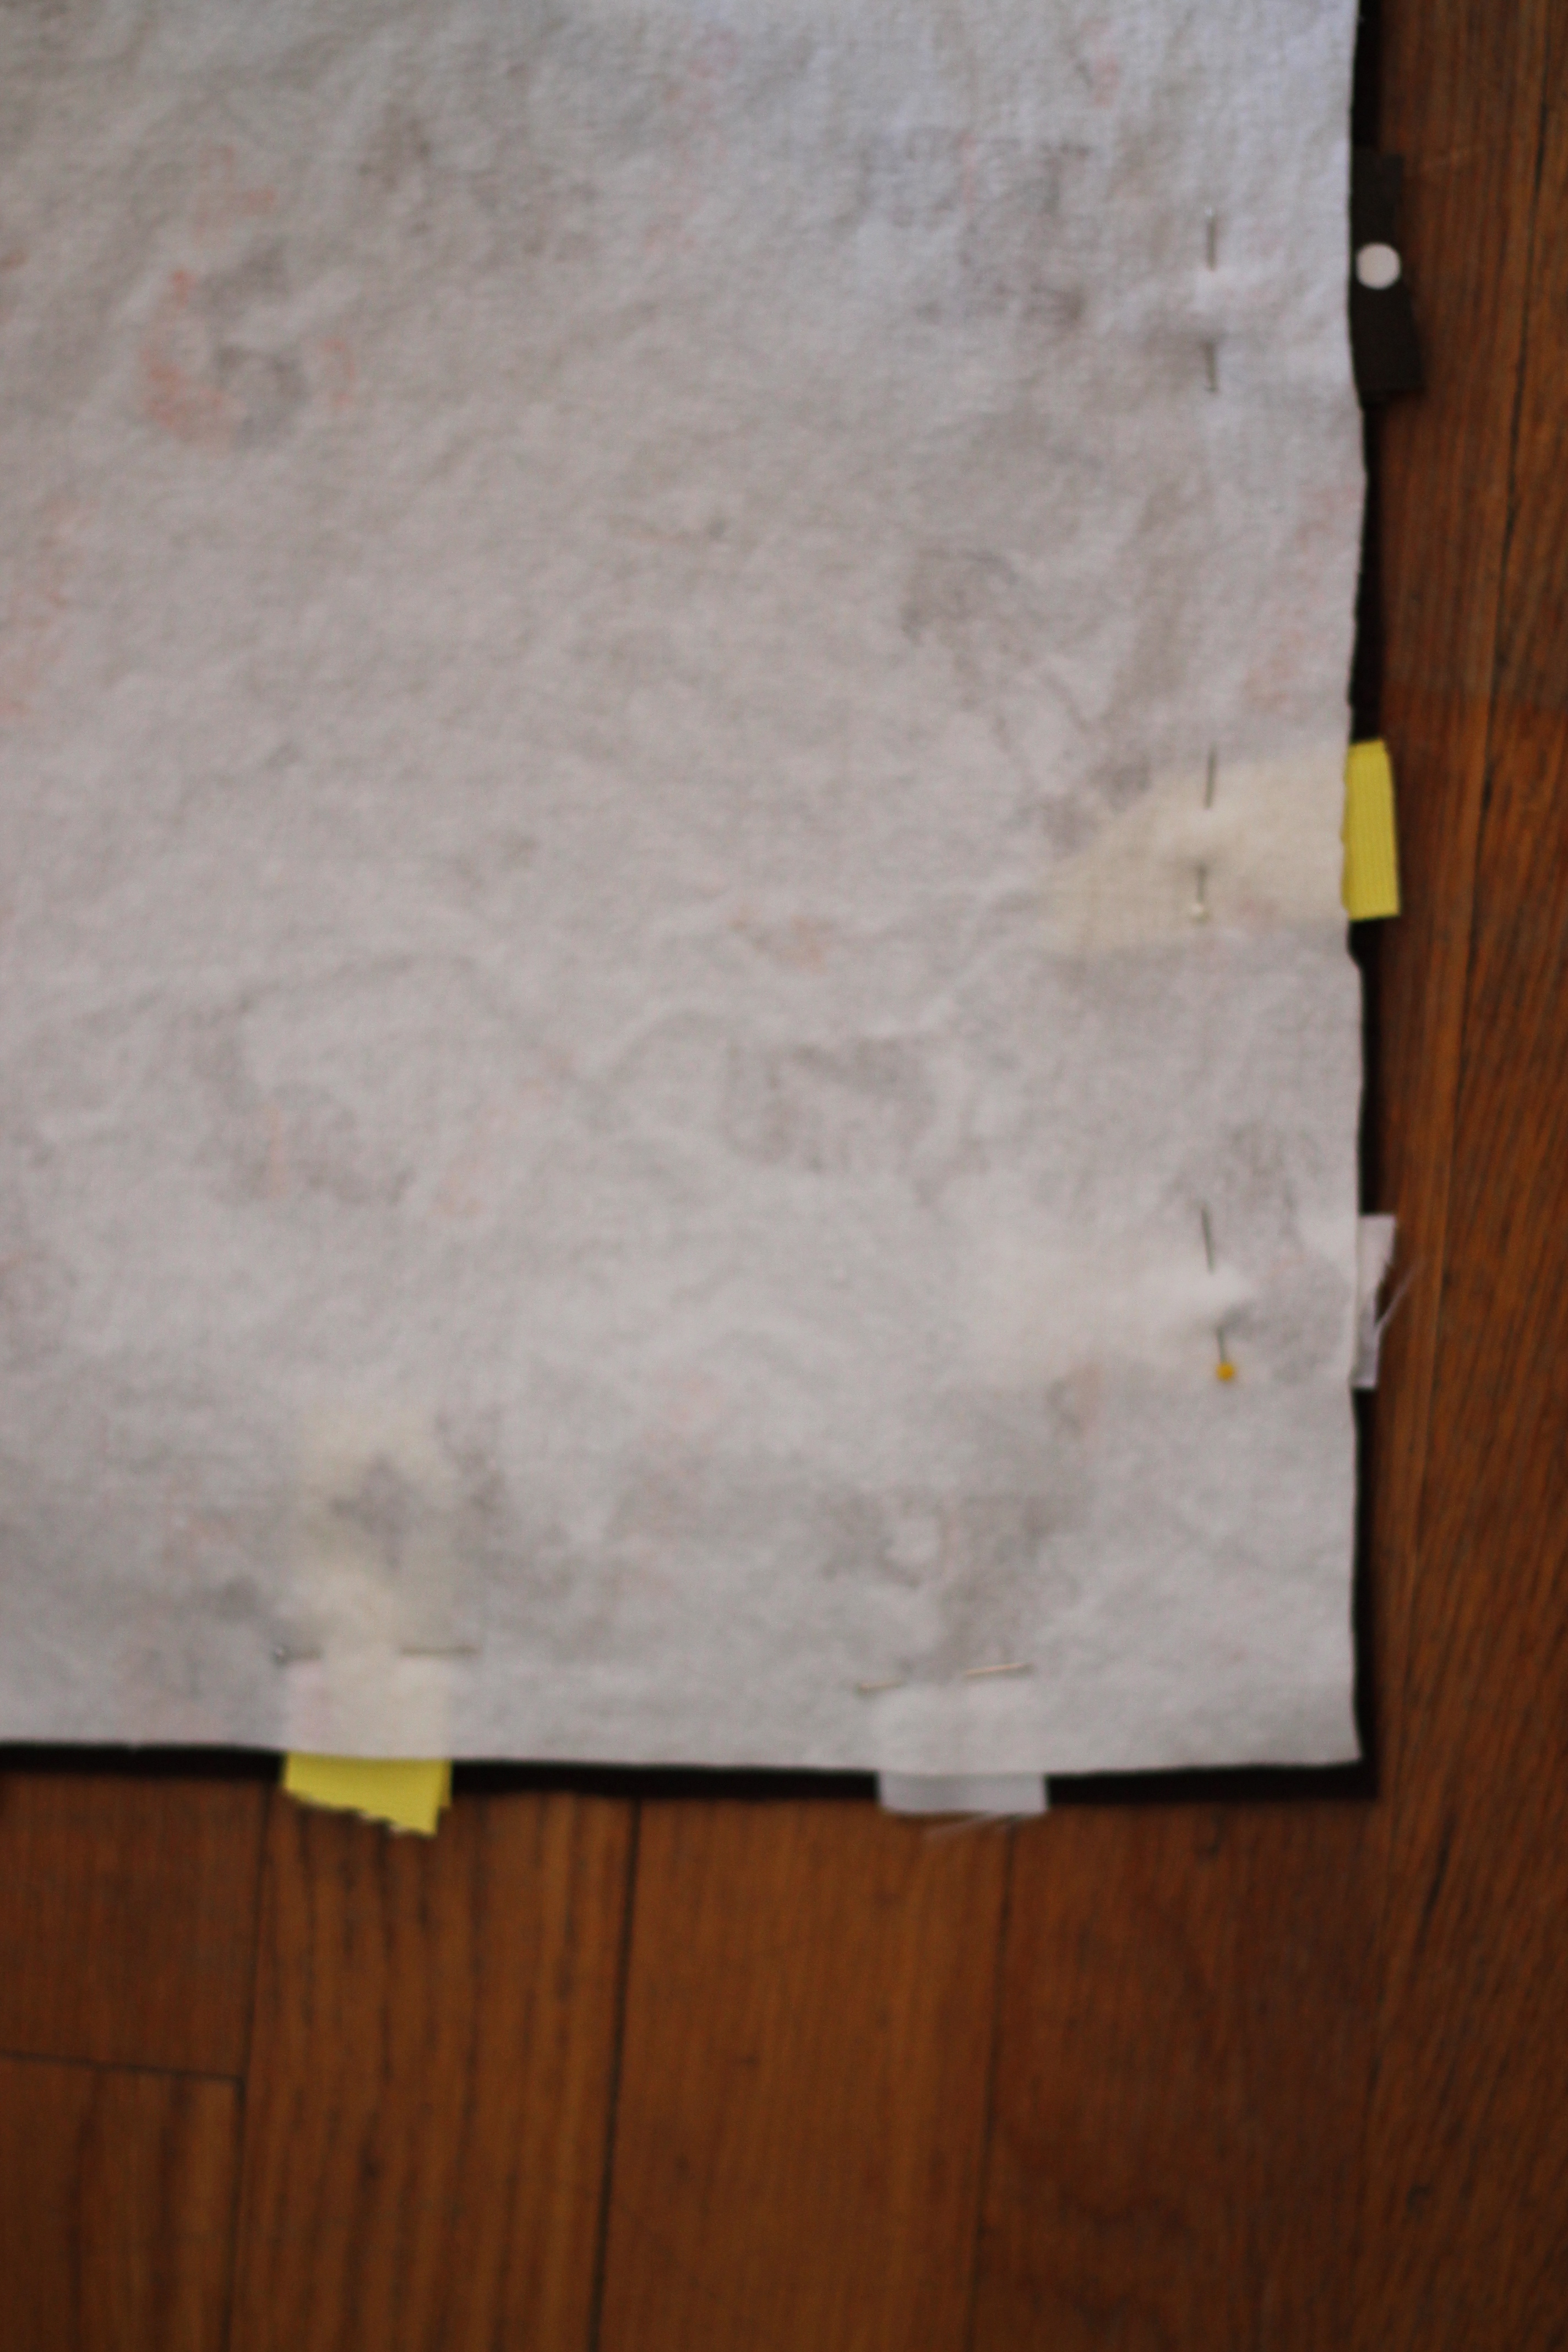
STEP 1: Face fabric right side-to-right side and pin tags between the two layers. I left part of the tag sticking out so that I would be sure to catch it with my stitch.

If you take a peek between the two layers, it will look like this.

STEP 2: Next stitch along the edge, leaving a small hole open to flip it inside out. Once you flip it inside out, use a pencil to poke down in the corners, so they are nice and pointy.
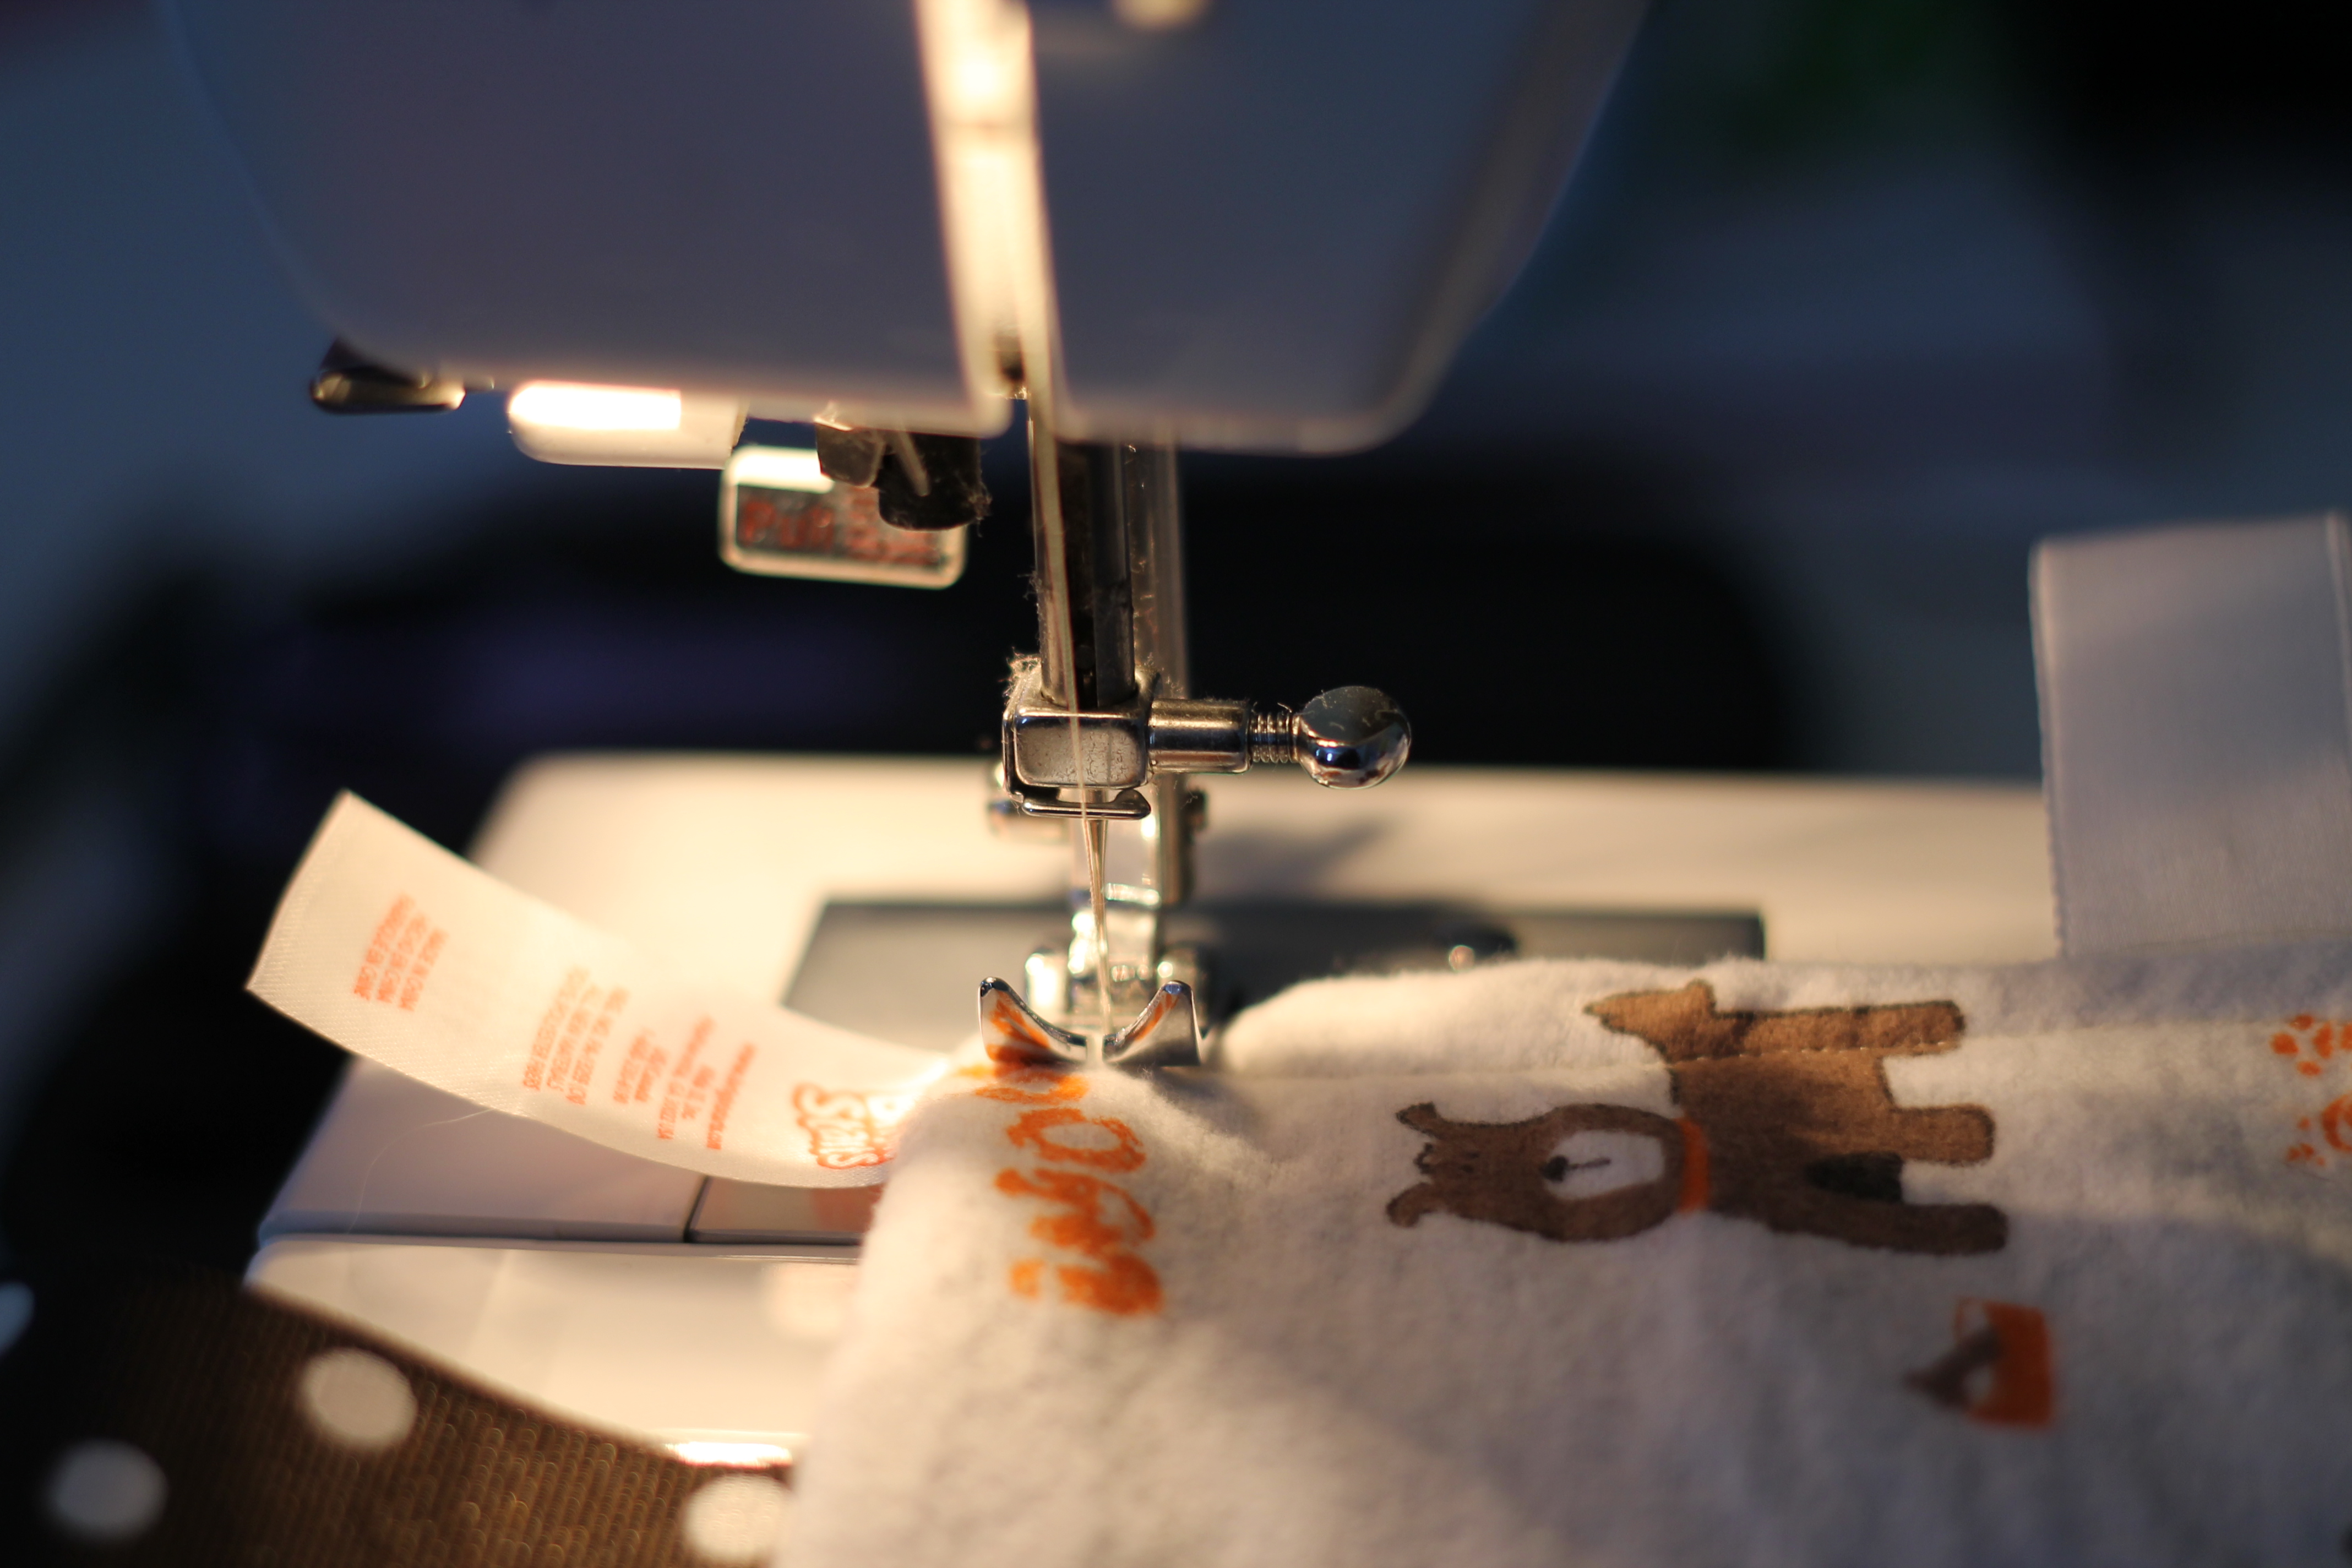
STEP 3: Once I turned mine inside out, I put another stitch all the way round about 1/2″ from the edge. Thought this would reinforce it and provide a little more structure.
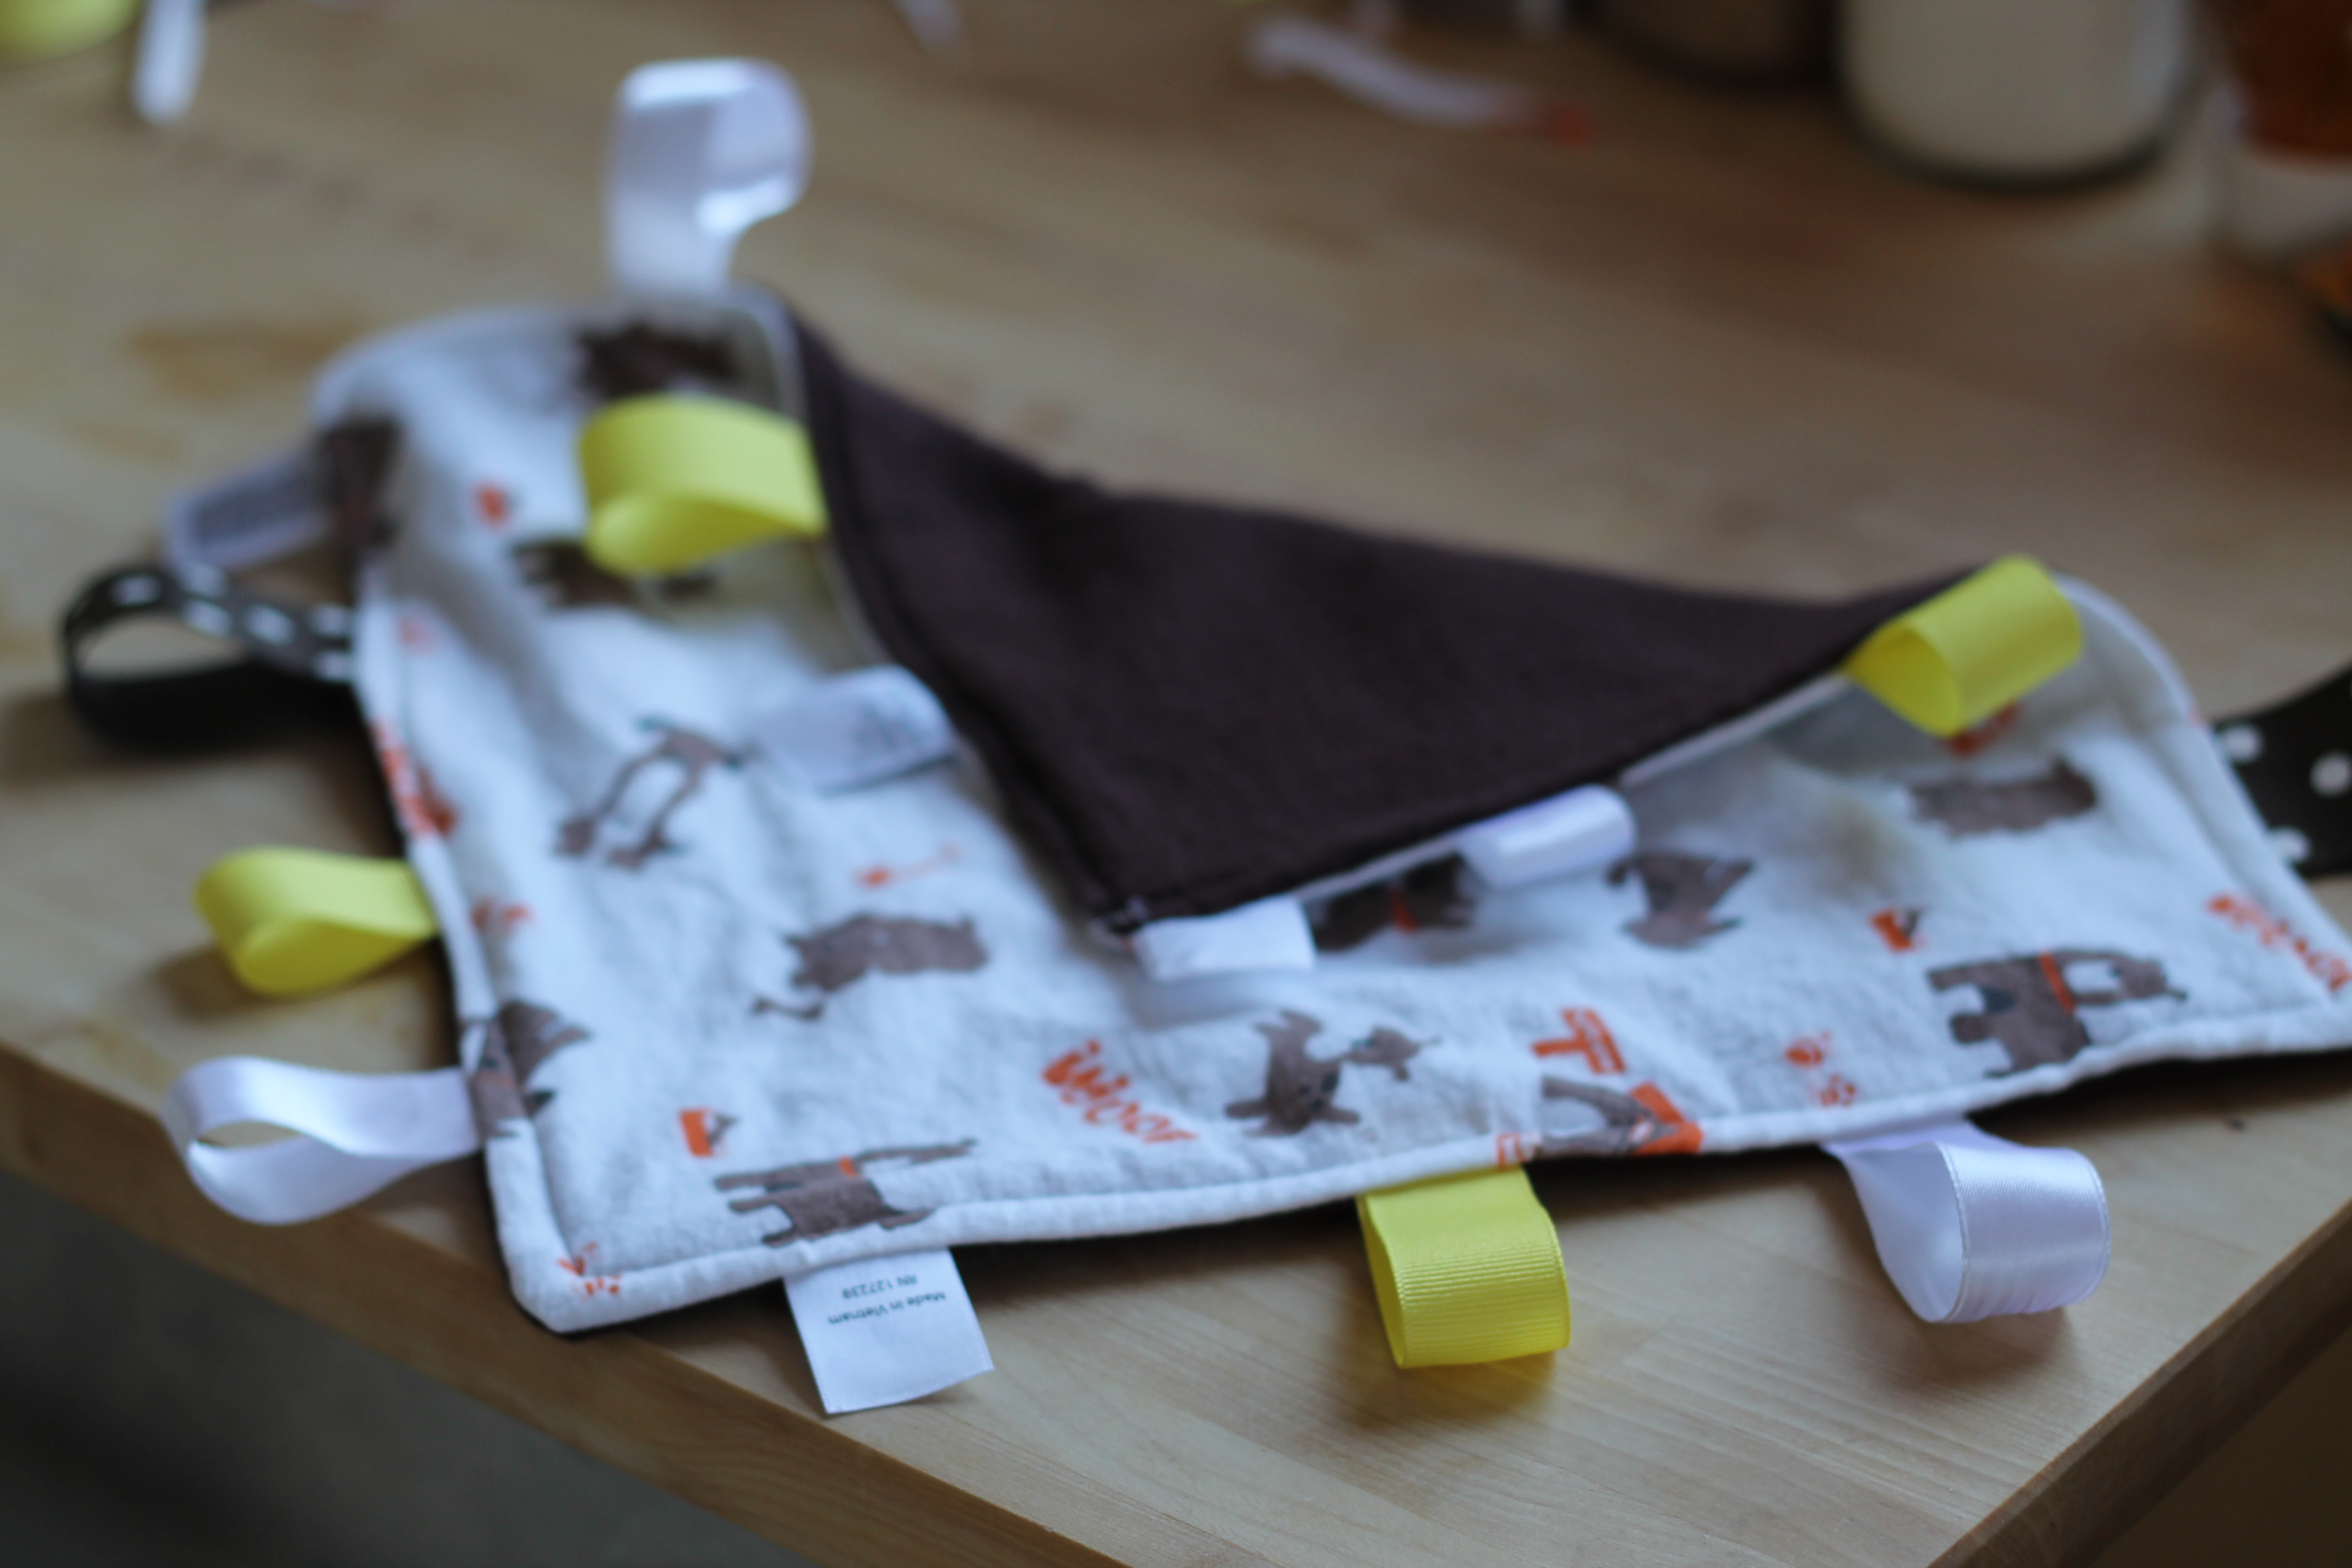
BOOM! Ok, maybe I’m not ready for my own Etsy shop. But Noah likes it!
